You are among those people who are regularly brushing their teeth twice a day, avoid sugary snacks, and visit the dentist for follow-up checkups. The question is, do you still have to floss? Shortly answered: Yes. At least once per day. Flossing is most likely the single most critical weapon against plaque, the sticky bacteria that clings to the teeth’s surfaces. Plaque is the main reason behind tooth decay; it is also what leads to periodontitis or gum disease, bad breath, and many other oral diseases. Brushing is a good starting point, but flossing helps with plaque removal in places a brush is unable to reach, such as small gaps between the teeth and underneath the gums. Moreover, it helps polish the tooth surfaces and diminishes the chances of gum disease.
Several people think they do not have the time to floss, but once they learn how to properly do it, they will realize that flossing only takes a couple of minutes of their day. If you have decided to only floss once a day, the best would be to do it before going to bed, before sleep. That is due to the fact that there is less saliva present in the mouth during sleep. Meaning, plaque is much more damaging and more concentrated. If you have never learned how to properly floss, below we will show you step-by-step guides including some very simple tips to help you do a greater job.

Proper Flossing Technique
- Break off a piece of floss approximately 0,5 cm and wind it around the middle fingers of both your hands leaving a little space of around 0,1 cm. This will enable you to use different combinations of the thumbs and index fingers to properly position the floss in between your teeth for all the regions of the mouth.
TIP: The increasingly common mistake made by people is tightening the lips and cheeks while flossing, leaving no space for the fingers to get into the mouth. Your lips and cheeks should be relaxed.
- Next, lead the floss carefully into the vacancy between the teeth.
TIP: Be careful not to snap the floss into the gums during the insertion, despite the gap being tight. A good motion to use is the side-to-side sawing motion, which is only when the floss is slipped carefully between the teeth.
- There exist two sides to each vacancy between the teeth and each side should be flossed separately in order not to harm the triangle of gum tissue between the teeth. The floss should run up and down the surface of the tooth, ensuring to go down to the gum line and then up to the highest contact point between the teeth. Pressure should be applied with the finger away from the gum triangle, allowing it to curve around the side of the tooth and forming the letter C with the floss.
TIP: Your fingers must be as close to the front and back of the tooth as possible so both fingers are able to move in unity up and down prior to hearing a squeaky clean sound. This is much easier to achieve using unwaxed floss. You will have much more control over flossing if there is a small amount of floss between your fingers.
- Subsequently, move the fingers to the top contact region between the teeth and slide across to the other side of the vacancy. Pressure should be applied with the fingers in the opposite direction and redo. Loosen up a bit of new floss from the finger and take up the used floss on the other one.
- Redo the process on the adjacent space between teeth. Work all around the mouth, and keep in mind to do the same with the back sides of the last molars.

What’s the best way to floss with braces?
Flossing with braces takes so much more time than flossing without braces, it can be quite tricky. In case you utilize regular floss, give yourself 10 to 15 minutes to floss your teeth.
To use this technique, pick waxed floss, which is much less likely to get stuck in your braces or tear them.
Flossing instructions for braces
- Cut off approximately 0,5 to 0,6 cm of waxed dental floss.
- To make sure the floss gets where you want it to, stand in front of a mirror.
- Begin by threading the floss in between the teeth and the main wire. To move the floss around easily, twist the loose ends of the floss around the index fingers.
- Push the floss in between the two teeth going gently. Next, move up and down the floss along the sides of both teeth.
- Whenever you are working on the top teeth, try to make an upside-down U with the floss. To do so, try going up the side of a single tooth till you reach the gumline. Afterward, glide the floss down the side of the adjacent tooth.
- Kindly remove the floss and unthread it from behind the wire. Abstain from popping the floss out of the tooth, seeing as it could lead to a wire dislodgement.
- Now, proceed with the next two teeth, using the same method until you have flossed in between all your teeth.
When should you clean between your teeth?
How many times should you floss within a week? Dental associations around the world advise cleaning the teeth at least once a day. For people with gum disease, it is recommended to do it more often.
Numerous people prefer flossing after brushing, while others prefer doing it before. What is crucial is cleaning these spaces every single day.

Why does cleaning between my teeth cause my gums to bleed?
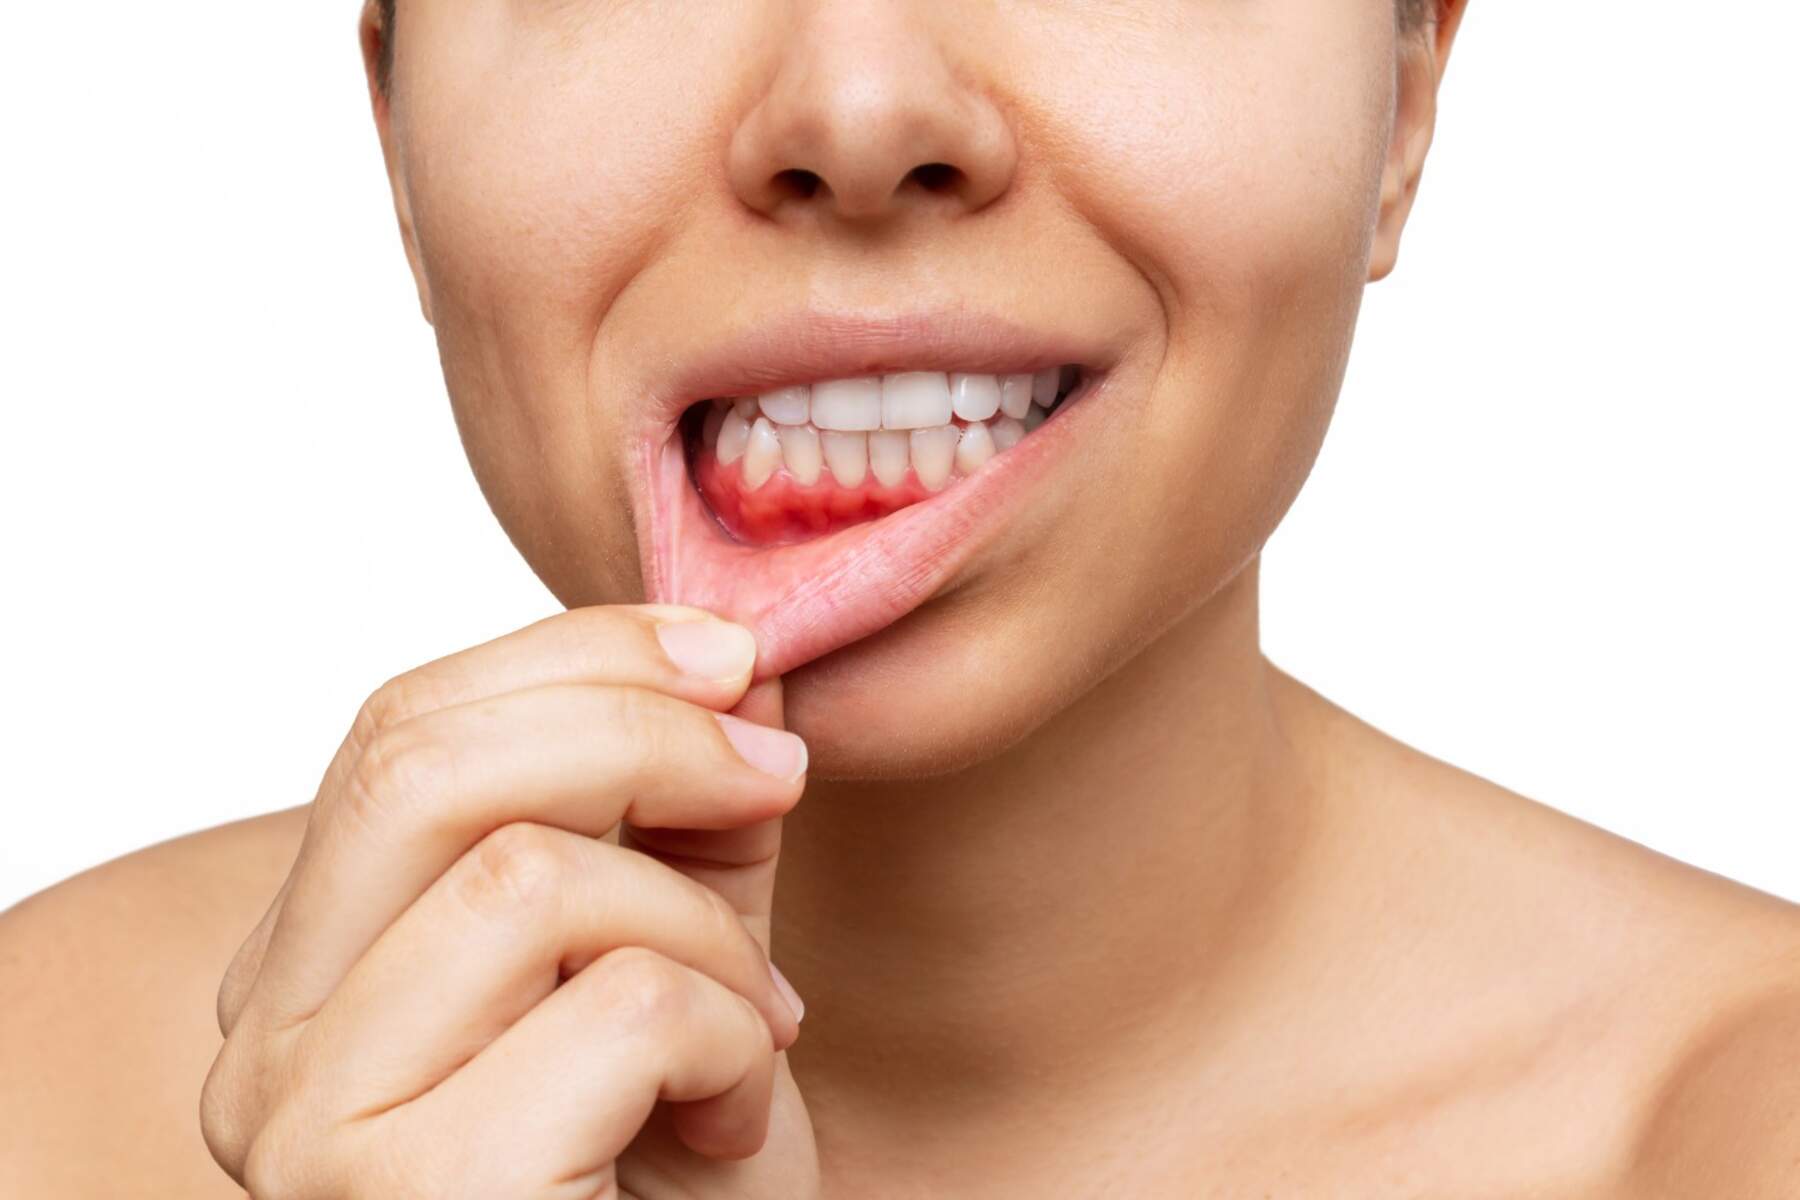
When not done regularly, cleaning in between the teeth can be the reason for gums bleeding. Not cleaning the plaque build-up from these vacancies can lead to the fragile gum tissue becoming inflamed and bleeding when stimulated by flossing.
The bleeding does not mean however that you should stop cleaning between the teeth. It might be an indication to floss more often. If the gums continue bleeding, even with good daily flossing, the best solution would be to see your dentist to ensure that you know how to floss your gums properly and there are no other causes for the bleeding.
Bear in mind, healthy gums do not bleed.
Types of dental floss
Dental floss comes in wide ranges. The type of floss best fitted for you is dependent on your likes, whether you have braces or bridges, and the amount of vacancy between your teeth.
Some dental floss is easier to use in tight spaces, while others are easier to use in wider spaces.
There exist different types of dental floss such as:
- Dental tape. Broader in size and flat like a ribbon, dental tape makes it easier for those who have gaps, or large spaces between their teeth or braces.
- Standard floss. Able to fit in between teeth, standard floss is a thin nylon strand. It comes in different varieties such as waxed and unwaxed or flavored and unflavored. In the event that your teeth are closer together or are crowded, dental floss with a wax coating makes it easier to get in between them.
- Super flosses. Capable of working with bridges, gaps, and braces, super flosses have three components: a spongy floss that cleans around the appliances, a stiffened end that flosses underneath appliances, and regular floss that eliminates the plaque below the gum line.

Flossettes
An alternative solution to string floss is a flossette or a dental floss pick. They are equipped with handles that have a curve at one end that holds a piece of dental floss. These can be aiding in the:
- Parents trying to floss their children’s teeth
- Children who trying to learn how to clean between their teeth properly
- Adults who are having trouble reaching into their mouth
- People who have decreased fine motor skills
At what age should children begin flossing?
The moment their children’s teeth have at least two teeth touching side-by-side, parents should start flossing their teeth. This is around the second year. To reach into the child’s mouth for flossing the easy solution are flossettes.
A simple tip is having your child lay on or across your lap or on the bed seeing as this can help to see and reach into the mouth. With children getting older and their fine motor skills improving, they can begin flossing themselves.
Interdental brushes
An easy-to-use solution and option for flossing are interdental brushes. They are quite similar to tiny bottle brushes. They involve a short handle attached to a flexible and thin wire, covered in soft bristles. Their work is to clear away the food, bacteria, and plaque in between the teeth. They come in a wide range of sizes and every brush can be multiple times prior to being thrown in the bin.
Interdental brushes may be much more efficacious than regular dental floss for cleaning between the teeth. They can be helpful for those with fine motor problems, braces, or huge vacancies between the teeth where the floss is unable to fill the gap correctly. They can be a very good alternative for those people who are not fans of using floss.
If you are among those who have braces and are unable to use dental floss, interdental brushes can be an amazing alternative to clean between the teeth, alongside the brackets and wire.
How to choose the correct size interdental brush
Interdental brushes come in a variety of sizes. The most suitable size will offer you the most benefits. The bristles should be fitting firmly but comfortably in between the teeth and they shouldn’t be forced. Pushing the brush between the teeth should only need light pressure.
The spaces between teeth can also vary in size, so it might be necessary to use different brush sizes for different regions in the mouth.
If you are not sure about the size of the interdental brush you should put to use, you can always ask your dentist who will be able to tell you which one to choose as well as show you how to use them.

Interdental brushing technique
The dental practitioner can offer you operational guidance on the way an interdental brush is used properly, however, the following are some basic tips to follow:
- Take away the plastic cap from the brush.
- Hold the interdental brush between your index finger and the thumb.
- Carefully put the brush into the triangular-shaped vacancy in between the teeth with a soft twist or wriggling action.
- Start pushing the brush through the space and then pulling it back out. Repeat it a few times for every single space.
- Rinse the brush using water following the cleaning of every space.
- Gently curve the wire to get better access to some regions. This is an especially good technique for how to floss back teeth.
- Once done, rinse the bristles and place the plastic cap back on.
Avoid toothpicks
Toothpicks are not advisable for cleaning in between teeth. Rough use of toothpicks and regular use can both cause gum damage. The toothpick can moreover get stuck in the gums, splinter, and break. They can also wear away teeth with long-term usage. There exist several other better alternatives for plaque removal.

Summary
A very important part of the daily oral health routine is cleaning between teeth. This should be done at least once each day.
There are many options available to be used for cleaning between the teeth such as flossettes, interdental brushes, floss, and water flossers. You will be provided by your dentist with advice on the greatest product to assist you in maintaining your teeth and gums healthy and the very appropriate method to put to use.
Once you have started and continued to clean between your teeth routinely, you will notice just how great your mouth will feel.


